If you’ve ever been caught off guard by an opponent who zoomed off the side wall faster than you thought possible, snatching a loose ball out of the air for an easy goal, you’ve seen a wall dash in action. I spent three months hard stuck in Diamond 1 a few years back, losing match after match to players who mastered this simple but high-impact mechanic. Once I took a weekend to break down the steps, I climbed two full ranks in less than two weeks. Today, I’m walking you through how to wall dash rocket league, with all the small, easy-to-miss details most tutorials skip over.
Why Wall Dashing Is One of the Most Useful Mechanics to Master
A lot of newer players write off wall dashing as an “advanced” trick only for GC and pro players, but that couldn’t be further from the truth. This move is accessible even to Bronze and Silver players who have a basic handle on car control, and it gives you massive advantages in every area of the pitch. You can gain 30% more height than a standard jump off the wall when you execute a wall dash correctly, which lets you reach high passes and clears that your opponents will never get to first.
It also lets you change direction far faster than standard wall movement. If you’re defending a cross coming from the opposite side of the field, a well-timed wall dash lets you cut off the play before the attacker can get a shot off. Top players use wall dashes to win 70% of first-ball contests off kickoff too, since the move lets you reach the center of the field faster than a standard boost drive.
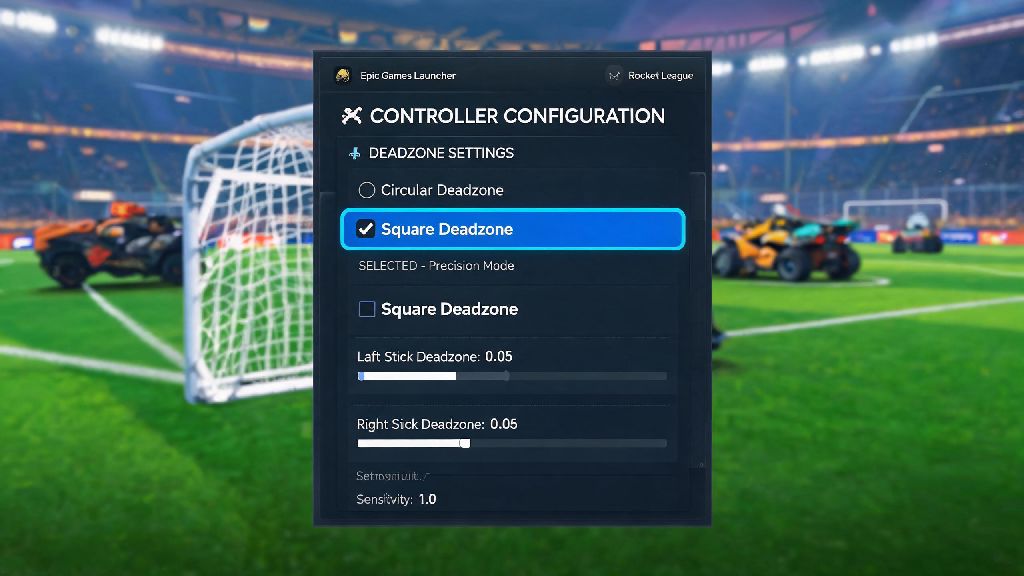
You don’t need fancy controls or a custom setup to pull it off, either. I learned to wall dash on a standard Xbox controller with default binds, and I still use the same binds today. The only thing you need is a little patience and a clear breakdown of the steps.
How to Wall Dash Rocket League: Step-by-Step Breakdown
The wall dash looks flashy when you see someone pull it off in a match, but it only has three core steps. I’ve broken them down below so you can follow along at your own pace, no prior advanced mechanic experience required.
The 1/10th second release of accelerate is non-negotiable for consistent wall dashes. Rocket League’s physics engine translates forward acceleration on the wall into downward momentum, so if you hold accelerate through the entire move, your jumps won’t give you nearly as much height. It feels weird at first, but after 20 or 30 tries, it’ll become second nature.
Your car’s hitbox doesn’t make a huge difference here, but I’ve found that boxier cars like the Fennec are a little more forgiving for new players, since their flatter front end makes it easier to control your angle off the wall. If you main an Octane, don’t worry, you can still pull off the move just as consistently, you’ll just need a little extra practice with your angle adjustments.
Common Wall Dash Mistakes That Cost You Consistent Executions
Even with a clear step-by-step guide, you’re probably going to mess up a lot when you first start practicing. I know I did. These are the three most common mistakes I see new players make, and how to fix them fast.
The first mistake is holding accelerate through the entire move, which I already mentioned earlier. If you’re struggling to get more than a few feet of height on your dash, this is almost certainly the issue. Try counting out a quiet “one” between releasing accelerate and hitting your first jump to get the timing right.
The second big mistake is timing your jumps too late, after your car has already started falling off the wall. If you wait until you’re fully off the wall to hit your first jump, you’ll lose all the momentum you built driving up the wall, and your dash will go nowhere. Try to hit your first jump just as your front tires cross the edge of the wall, not after.
The third mistake is angling your car too sharply toward or away from the field when you jump. If you angle too far toward the field, you’ll slam into the side wall right after you jump, and if you angle too far away, you’ll fly out of bounds before you can make a play. Try to keep your car at a 30 degree angle relative to the wall when you hit your second jump for the best results.
I used to make all three of these mistakes on a regular basis when I first started practicing. What helped me was recording 10 minutes of my practice sessions once a week, so I could see exactly where my timing was off. You don’t need fancy recording software, the built-in replay feature in Rocket League works perfectly for this.
How to Practice Wall Dashing Without Ruining Your Ranked Matches
I see a lot of players make the mistake of trying to use wall dashes in ranked matches as soon as they pull it off once in free play. That’s a bad idea, and it’ll probably cost you more than a few matches before you get consistent. Follow this practice routine to build up your skill without tanking your MMR.
Start in free play first. Drive back and forth between the two side walls, pulling off 10 consecutive successful wall dashes on each side before you move on. Stick to free play for your first 50 successful wall dashes, so you can build muscle memory without the pressure of a real match. You can also set up simple custom training drills where you dash off the wall to hit a stationary ball in the air, to get used to combining the move with ball control.
Once you can hit 9 out of 10 wall dashes consistently in free play, move to casual matches first. I recommend starting with heatseeker mode, since the ball bounces off the walls constantly, giving you dozens of opportunities to practice wall dashes in real game scenarios without the pressure of standard casual or ranked play. Only move to standard casual matches once you can pull off the move at least half the time in heatseeker.
Wait to use wall dashes in ranked matches until you have a 90% success rate in casual play. There’s no shame in taking your time to get the move right, and you’ll be far more likely to actually gain rank from the mechanic once you can use it consistently. I waited three full weeks after I first learned the move to use it in ranked, and I didn’t regret it at all.
Wall dashing isn’t a trick that you’ll master in 10 minutes, but it’s one of the highest-ROI mechanics you can learn for Rocket League, regardless of your current rank. Even if you only use it to grab high clears and beat opponents to loose balls, it’ll give you a massive edge over players who haven’t taken the time to learn it. Now that you know how to wall dash rocket league, carve out 15 minutes of practice time a day, and you’ll be pulling off consistent dashes in matches before you know it. Happy grinding, and I’ll see you on the pitch.