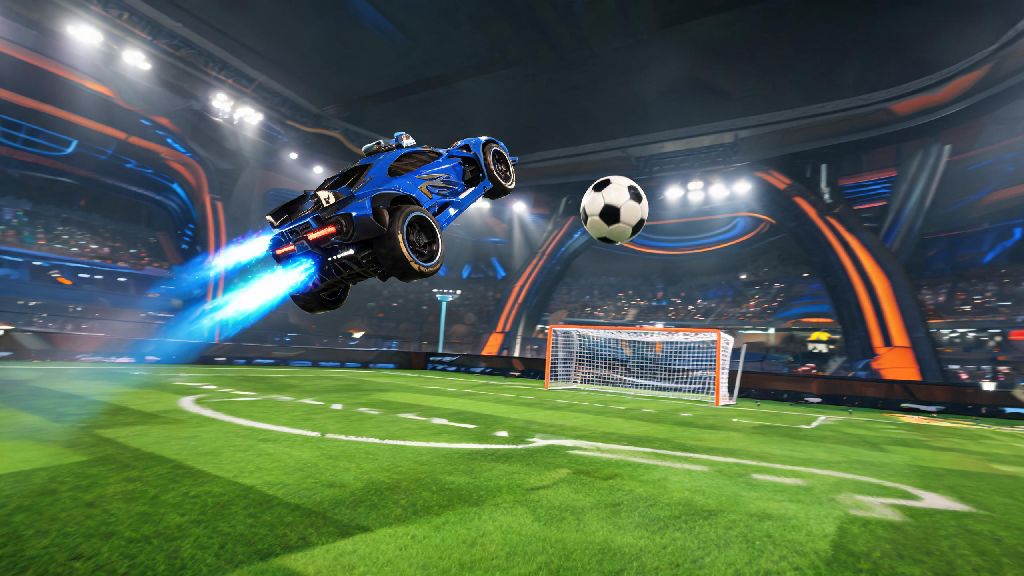
If you’ve ever watched a top-tier Rocket League player float across the field to sink a game-winning aerial shot, you’ve probably wondered how to pull off those same moves yourself. The foundation of every great aerial play, fast save, and sneaky redirect is a solid high jump. Most new players underestimate how much control and power they can get from their jumps, even before they unlock advanced mechanics like double jumps or ceiling dashes. I’ve spent 4 years climbing from Bronze to Grand Champion rank, and I can say without a doubt that mastering your jump height is the fastest way to climb ranks without putting in hundreds of hours of mechanic grind. If you’re ready to stop missing easy saves and start outjumping every opponent on the field, this guide breaks down everything you need to know about how to jump high in Rocket League.
How to Jump High in Rocket League: Core Mechanics You Need to Master First
Before you dive into fancy combos, you need to nail the basic jump mechanics that control your height. A lot of new players skip this step and wonder why they can never reach the same height as more experienced opponents, even with full boost. Let’s break down the basics first. Single jump maximum height caps out at roughly 2.5 car heights if you hold the jump button for the full 0.2 second window. If you only tap the jump button, you’ll only reach half that height, which is why so many new players miss easy high saves. Double jump maximum height hits roughly 5 car heights when executed correctly, no boost required. That’s enough height to reach most standard shots aimed at the top of the goal. The longer you hold the jump button, the higher your single jump will go—this is the single most important rule to remember for consistent high jumps. Many players develop a habit of tapping jump out of panic, but retraining your muscle memory to hold the button for the full window will double your jump height overnight. You can practice this in free play by jumping next to the goal posts to see how high you can reach without boost.
Boost Management Tricks for Extra Jump Height
Once you’ve mastered basic single and double jumps, combining them with boost will take your maximum height to a whole new level. The right boost timing can add 3 to 4 extra car heights to your jump, enough to reach even the most overhit crosses and long-range aerial shots. The key is to use your boost efficiently, so you don’t waste all your fuel before you reach the ball. These are the three most useful jump + boost combos for every rank:
One common mistake I see even Diamond rank players make is using all their boost to reach a high jump, then having no fuel left to adjust their position mid-air or land safely. If you miss the ball, you’ll be stuck floating back to the ground while the other team scores on your empty net. Always keep at least 20 boost in reserve after a high jump to correct your position or land safely. You can collect small boost pads across the field to top up your supply between plays, so you never run out right when you need it most.
Advanced Mechanics to Unlock Even Higher Jumps
Once you’ve nailed the basic jump and boost combos, you can start learning advanced mechanics that give you even more height and control in the air. These mechanics are not required for ranks below Diamond, but they will give you a massive edge once you start playing against more skilled opponents. The first advanced jump mechanic to learn is the ceiling jump. When you drive onto the ceiling of the arena, you can jump off to launch yourself into the air, and you’ll keep your double jump intact for extra height. This lets you reach heights that are impossible with standard double jumps and boost alone, perfect for surprise redirects and shots that catch the other team off guard. Flip resets are another advanced mechanic that give you an extra jump mid-air, letting you add even more height or change direction after your initial jump. Don’t waste time practicing ceiling jumps until you can consistently hit double jump + boost aerials 9 out of 10 times. These advanced mechanics are useless if you can’t land basic high jumps consistently first. If you try to skip ahead, you’ll just end up frustrated and wasting hours of practice time that could be spent improving more foundational skills.
Common Mistakes That Kill Your Jump Height (And How to Fix Them)
Even if you know all the right mechanics, small bad habits can cut your jump height in half without you even noticing. These are the three most common mistakes I see players make, and easy fixes you can implement today. The first mistake is tapping the jump button instead of holding it. As we covered earlier, holding jump for the full 0.2 second window doubles your single jump height, so tapping is almost always a bad idea unless you’re intentionally doing a small jump for a dribble. Fix this by practicing in free play for 10 minutes a day, focusing only on holding the jump button until you reach maximum height. The second mistake is using your second jump too early. If you trigger your second jump right after your first jump leaves the ground, you’ll only get a small height boost instead of the full 2.5 extra car heights. Wait until your first jump reaches its peak before triggering the second jump for maximum height. The third mistake is activating boost before your car leaves the ground. Boosting while you’re still on the ground doesn’t add any height to your jump, it just wastes boost that you could use mid-air. Never activate boost until your car is fully off the ground to avoid wasting fuel for no extra height. Fix this by slowing down your practice attempts at first, focusing on the order of inputs: jump first, wait for takeoff, then boost.
You don’t need to be a Grand Champion to pull off high, controlled jumps that change the outcome of your matches. Even small tweaks to how you press your jump button and combine it with boost will make a noticeable difference in your gameplay after just 15 minutes of practice. The best part about improving your jump height is that it translates to every other part of your gameplay, from saves to shots to 50/50 challenges. As you work on how to jump high in Rocket League, focus on consistency first before moving to more advanced mechanics. Before you know it, you’ll be the one pulling off those insane aerial shots that make your teammates spam quick chats in celebration.